Unity 2D in progress
Been testing out Unity3D’s new 2D features on the 4.3 update, I’ve got to say I’m quite impressed by the simplicity of the overall thing. Blogging on it really soon!
In the meantime, have a dogemon
Been testing out Unity3D’s new 2D features on the 4.3 update, I’ve got to say I’m quite impressed by the simplicity of the overall thing. Blogging on it really soon!
In the meantime, have a dogemon
Setting up a Polycode project in Visual Studio is a royal pain in the ass. The fact that you have to use a Win32 project is the main reason. We can resume this in two dreaded words : HUNGARIAN NOTATION. God I hate this.
Of course, this is just for the entry point and fortunately, once this is done, you won’t have to face those horrible names in your code (unless you like this, which should be considered scary). Anyways, here’s a step by step on how to setup a basic Visual Studio project and get you running on trully interesting code in no time:
What this does is it copies to build directory the OpenAL dlls so that the sound module runs correctly. Polycode author Ivan Safrin recently spoke about removing it for a more low level sound API, so keep that in mind for the future. This also adds the default.pak file to the project, which is not an obligation, but it contains starter resources to get you up and running a Polycode app directly, like fonts, default shaders, textures, stuff like that.
main.cpp, because I like simple stuff, and if we could keep this file simple, it would be great. Anyways, let’s fill it with our entry point, that is, ugly Win32 code :
So this is where your creativity comes in. Following the main wiki, you’re going to create an entry class (here, it’s called PolyApp) that is polled by the Win32 API for events (the do/while part) until you decide to shut it down. Protip : if you plan on doing something cross-platform, use the POLYCODE_CORE define that is defined at build depending on OS. You’re better off that way.
So that’s it, don’t forget to change your Polycode build path, and you should have a project running. Hit me up on if something’s wrong!
Tuxic
I’ve been working a lot with Polycode during the last few days, just to satisfy my curiosity regarding this easy to use C++/LUA framework. Despite the few problems on new Visual Studio editions, I got it running pretty easily and got to do a lot of fun stuff pretty fast.
Let’s be clear, Polycode is still young and is clearly oriented towards fast prototyping and intuitive realtime output, so I might just be pushing it in the opposite direction it is meant for. I also decided to disregard the LUA part, because I needed to get back into C++, and I like doing stuff the hard way. So that leaves me without any player, helper, or custom compiler of any sort. Despite that, Polycode is a real pleasure to use.
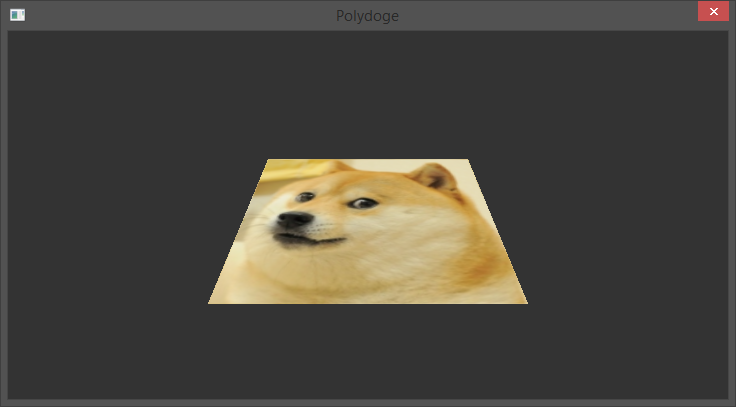
One thing I like to try on 3D frameworks is code generated meshes : define your vertices in code and create objects on the fly. What’s the point? Well for instance, take things like quadtrees that tend to evolve a lot during runtime, you can’t just load a model and expect it to change by itself. Polycode doesn’t really seem ready for this kind of stuff, as a lot of operations are done CPU side, and vertex creation is freaking slow. Anyways, to show the technique I used, we’ll create a simple face with a texture. It might not be the best way to do this, but since documentation is pretty sparse (not to say totally absent) on the matter, I interpreted the generated doc as best as I could.
I’m going to assume you already know how to setup a Polycode project with C++. There are 3 important objects we’ll be using to create our entity :
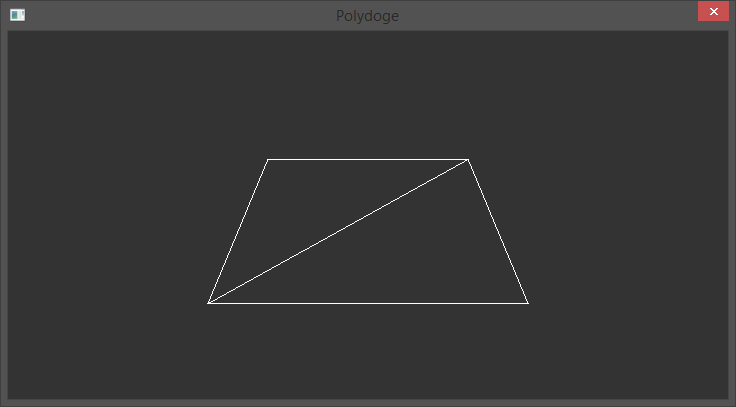
You’ll notice I explicited the namespace. This is because it conflicts with another Polygon class that Visual Studio forces on C++ projects. Now an important thing : when declaring a Polycode::Mesh instance, you get to choose the mesh type, and everything depends on that. For the most part, the type defines how the vertex list is interpreted and how it is drawn. There’s an awesome type called Polycode::Mesh::QUAD_MESH that takes vertices by groups of 4 and creates a neat quad. But in reality, wireframe is pretty horrible, and I wouldn’t recommend it for deployment. I tend to use the classic Polycode::Mesh::TRI_MESH that takes vertices by groups of 3 to create triangles. It requires more vertex definitions, but it’s more natural for the GPU, because remember kids, your GPU draws triangles in 3D, and nothing else. There are many more types, including dot and line renders, triangle strips and so on, so don’t hesitate to check them out depending on your scenario.
So, back to our vertices, because we still don’t know how to create them. It’s pretty straightforward, the Polygon class is neat :
I used a counter clockwise vertex declaration, as this is the default culling option in most situations in 3D development. There is a backfaceCulling property on Polycode entities if you wish to decull the other side, but by default, it is set to false. So these 6 vertices define a quad object that I can assign to my baseMesh and render via my sceneMesh. Easy, right?
That’s about all, if you’ve done everything right (that is, also setup the camera to a position and look at (0,0,0)), you should see a magnificent quad on your screen.


If you got this far, I guess there’s not much else to say. No, seriously, for instance I haven’t seen any index buffer, which is critical in this case since vertex creation is way too slow. I suspect Polycode::Mesh::QUAD_MESH to make use of indices, but nothing is explicit so I cannot say for sure. The fact remains that this is all too slow and a bit cranky regarding workflow. So this is basically experimenting and definitely not ready for production of any sort. Stay safe, don’t do this at home.
Tuxic
So yeah, I needed some space to talk about life, the universe and everything. Including bacon and a lot of code. So it’s gonna be an awesome blog written in english and talking about my dev experiences, mostly regarding 3D stuff and incredibly stupid things to do with a computer and a programming language.
Anyways, no format, no regular post date, only a free speech area with lots of rage and free taunts.
For starters : polydoge. Yeah, so old.